
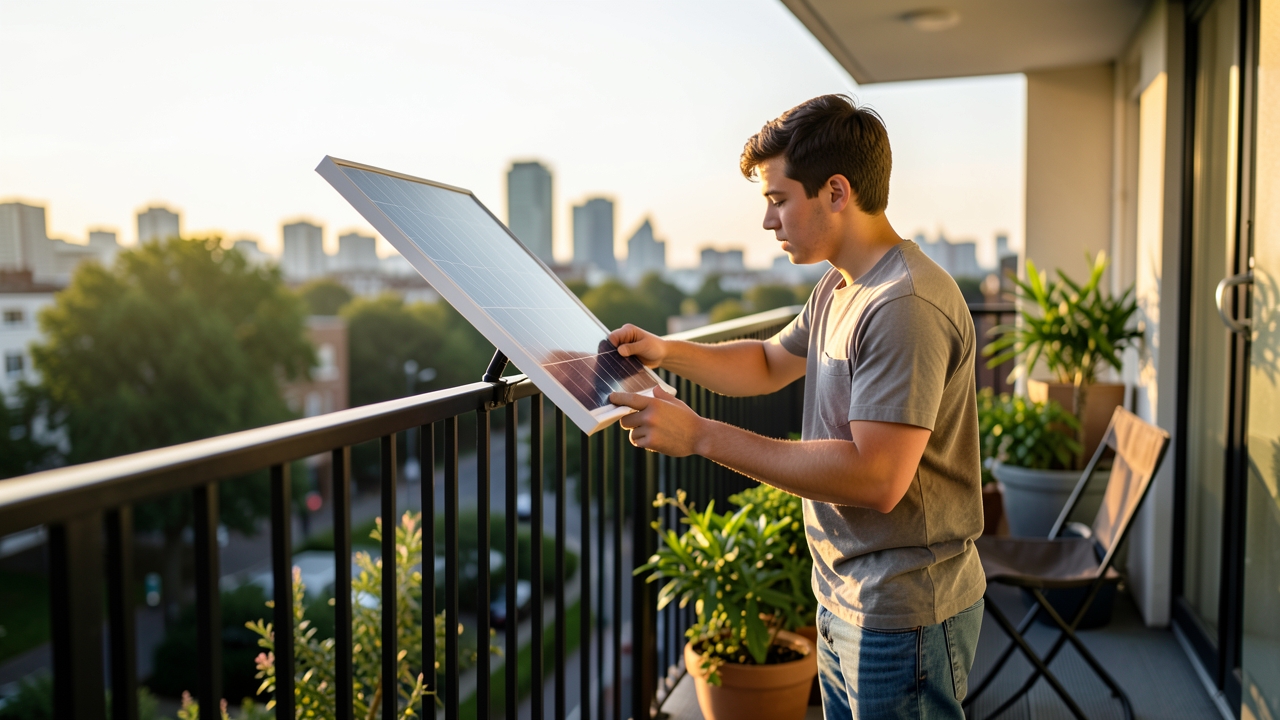
Balcony solar for renters has moved from niche hobby to mainstream money-saver in 2026. A plug-in kit costing £400–£900 can trim £90–£180 from a yearly electricity bill, and fitting one takes about 20 minutes. However, the hard part is rarely the wiring. It is getting your landlord, freeholder or managing agent to say yes in writing.
This guide covers tenancy clauses, leasehold restrictions and deposit risk. It also gives you a ready-to-send permission letter and a photo checklist to protect your deposit.
Why balcony solar for renters needs written permission
Almost every tenancy agreement contains a clause about alterations, fixtures or fixing things to the property. A plug-in panel needs no drilling, yet it does change how the outside of the building looks. As a result, most landlords treat it as an alteration rather than a plug-in appliance.
Furthermore, the balcony often sits within the structure covered by the head lease. In that case your landlord is only the leaseholder and needs the freeholder’s consent too. Skipping that step can put your landlord in breach of their lease, which puts your deposit and your home at risk.
On the other hand, landlords say yes far more often than tenants expect. A short, clear, insured and reversible proposal removes nearly every objection. It is the vague text message that gets ignored.
Step 1: Read your tenancy agreement before you buy anything
Dig out your agreement and search for these five areas. They decide whether you need consent at all.
- Alterations and additions – the clause that usually requires written consent.
- Fixtures and fittings – covers anything fixed to the property, even temporarily.
- External appearance – often bundled with satellite dish and aerial rules.
- Nuisance and annoyance – a neighbour complaint about glare can trigger this.
- Insurance and liability – who pays if the panel falls and damages something.
The Renters’ Rights Act 2025 reshaped tenancies in England, but it did not remove the need for consent to alter a property. Social housing tenants face a separate permission route through the council or housing association, so ask your housing officer directly.
Step 2: Understand leasehold restrictions
If you rent a flat, your landlord is usually a leaseholder. The freeholder or managing agent controls external changes through a licence to alter. Some leases ban anything attached to the balcony railing outright, while others simply require notification.
There is also an insurance angle. Buildings cover for the block may exclude unauthorised fixtures, and the freeholder will want to know about anything that could blow loose in high wind. Allow four to eight weeks for a decision on a managed block.
Questions to ask the managing agent
- Is a formal licence to alter required, and what is the admin fee? Expect £50–£150.
- Is the balcony inside my landlord’s demise or a shared part?
- Are there existing restrictions on external fixtures or satellite dishes?
- Will the installation affect the block’s buildings insurance?
- Does the fire risk assessment cover balcony clutter or glazing?
- What is the typical turnaround time for a decision?
Step 3: Manage deposit risk before you install
Your deposit is capped at five weeks’ rent under the Tenant Fees Act 2019 and must be protected in a government-approved scheme. The GOV.UK guidance on tenancy deposit protection explains the 30-day rule. Keeping that deposit intact comes down to how you mount the kit.
Use no-drill clamps with rubber pads, cable ties rather than clips, and a safety strap rated for at least twice the panel weight. Avoid sealant, adhesive pads on painted render, and anything screwed into a glass balustrade. For more kit ideas, see our round-up of the best plug-in solar kits for UK balconies.
Damage is chargeable; fair wear and tear is not. That distinction is why dated photographs and written consent matter so much. Ask your landlord to confirm in an email that no-drill railing clamps will not be treated as damage.
What a plug-in solar kit actually involves in 2026
A typical single panel measures about 1.7m by 1.1m and weighs 18–22kg. Dual 800W kits use two panels and a shared microinverter. Both connect through a standard 13A plug into an IP65 outdoor socket.
- 400W starter kit: £350–£550
- 800W dual-panel kit: £650–£950
- Railing clamps and safety strap: £40–£120
- Battery add-on (1–2 kWh): £500–£1,200
- Electrician check of the outdoor socket: £80–£150
Output is modest but real. A 400W panel in southern England generates roughly 330–400 kWh a year. At around 25p per kWh that is £80–£100 saved. An 800W kit roughly doubles it. For a fuller cost breakdown, read our guide to balcony solar panel costs.
Legally, plug-in solar sits in a shifting space. Ministers have signalled support for legalising sub-800W plug-in kits, and standards work on BS 7671 continues. Therefore, keep the manufacturer’s datasheet and UKCA marking to hand, and have the socket tested under the Electrical Safety Standards in the Private Rented Sector Regulations 2020.
Step 4: Send a permission request letter
Keep it to one page. Attach dated photos, the product datasheet and proof of insurance. Offer to sign an addendum. Then follow up politely after 14 days. Here is a template you can adapt.
Dear [Landlord or managing agent name],
I am writing to request written permission to install a plug-in solar panel kit on the balcony of [flat address], as required by clause [X] of my tenancy agreement.
The proposal is one 400W panel weighing 19kg, fixed to the existing railing with no-drill clamps and a safety strap. The microinverter mounts on the inside of the railing and connects by a 5m cable to the existing IP65 outdoor socket. No drilling, wall fixings, sealant or structural alterations are involved.
The system is removable in under 15 minutes. I will restore the balcony to its current condition at the end of the tenancy and cover any damage through my contents insurance.
I have attached dated photographs of the balcony, the product datasheet, and confirmation that the kit is UKCA marked and compliant with BS 7671.
Please let me know if you need anything further. I would be grateful for a reply within 14 days.
Yours faithfully,
[Your name]
[Phone and email]
Step 5: Photo checklist before installation
Take every shot in daylight, with timestamps switched on. Store copies in the cloud and email the set to your landlord.
- Wide shot of the whole balcony from inside the room.
- Close-up of each railing fixing, panel by panel.
- Any existing rust, cracks, chips or scuff marks.
- The outdoor socket, plus the indoor socket and consumer unit.
- The cable route you plan to use, photographed end to end.
- The balustrade from street level, if you can safely get the angle.
- A measurement shot with a tape against railing height and panel width.
- The view and any shading from nearby trees or buildings.
- Electricity meter reading on the day of fitting.
- A short video pan of the balcony, lasting 20–30 seconds.
What if your landlord or freeholder says no?
Do not fit the kit anyway. An unauthorised installation can breach your tenancy and give your landlord grounds to recover possession. Instead, ask what would make the answer a yes, then come back with a smaller panel or a different mounting method.
Meanwhile, there are alternatives. A freestanding A-frame panel rests inside the balcony with no fixing at all. Smaller 200W kits suit narrow railings. You can also switch tariff, fit LED bulbs and draught-proof the flat. The Energy Saving Trust lists free and low-cost measures worth doing first.
Finally, check whether your contents insurer covers temporary outdoor equipment. Most policies do, but a quick call avoids a nasty surprise.
Frequently asked questions
Do I need permission for a panel that just leans on the railing?
Yes, in most cases. Any external change of appearance usually triggers the alterations clause, even without drilling.
Can my landlord charge me for removing it?
Only if you leave damage or items behind. Get written agreement on removal responsibilities before you install.
Have you asked a landlord for permission to fit balcony solar yet? Share your experience, or your rejection story, in the comments below.