
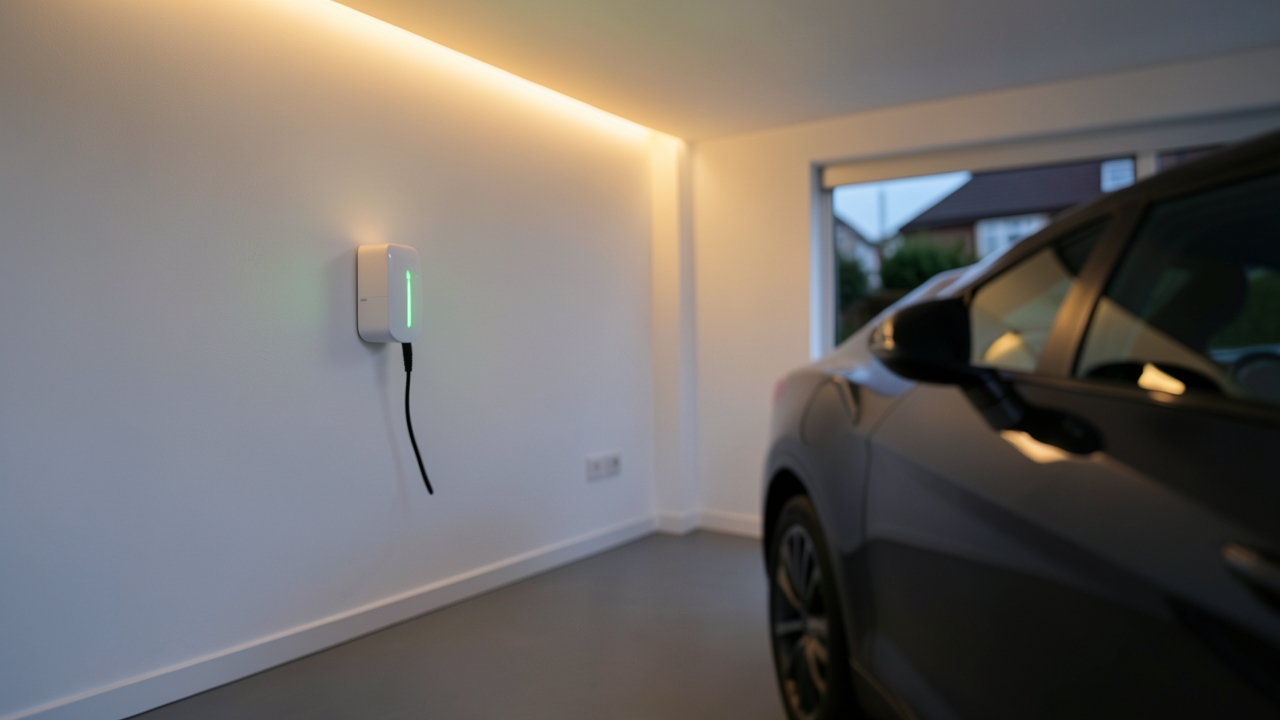
Imagine glancing at your hallway smart light and instantly knowing your electric vehicle is ready to drive. With EV charger smart lighting, you can link your home’s lighting system directly to your EV charging status. This creates simple, visual indicators that tell you exactly what’s happening without checking an app. In this guide, we walk through how to set up this clever automation in your UK home, step by step.
Furthermore, this isn’t just a luxury gadget. It genuinely improves your daily routine. A quick colour change on your smart lights saves time, reduces charging anxiety, and makes your whole smart home ecosystem more intuitive.
Why Sync Smart Lights with Your EV Charger?
Most modern EV chargers communicate their status through an app or LED indicator on the unit itself. However, that information often stays locked on your phone or buried in a garage. Smart lighting brings that status directly into your living space.
Here are the key reasons UK homeowners are making this connection:
- Instant visual feedback — A colour-coded light tells you at a glance whether your car is charging, fully charged, or experiencing a fault.
- Energy awareness — You can sync lights to pulse or change colour during off-peak tariff hours (typically 12am–5am on Economy 7 or Octopus Go). This reminds you to plug in during cheaper periods.
- Safety reminders — A red light can warn you if charging has stopped due to an error or overload.
- Family convenience — Everyone in the household can see charging status without asking or checking their phone.
According to the UK Government guidance on home EV charging, installing a home charger remains the most cost-effective way to run an electric vehicle. Making that charger smarter only adds to the value.
How EV Charger Smart Lighting Integration Works
The basic principle is straightforward. Your EV charger sends status data to a smart home platform. That platform then triggers changes in your connected smart lights based on the charging state.
The Three Main Methods
1. Direct API Integration — Some chargers, such as those from Ohme, Zappi, or Hypervolt, offer API access. A smart home hub like Home Assistant can pull real-time data directly. For example, Home Assistant connects to the Ohme API and detects states like “charging,” “waiting,” and “complete.”
2. Via a Smart Plug or Relay — If your charger lacks API access, a smart plug on the charger’s power supply can detect when the unit draws current. No current flow means charging is complete. You then use this trigger to change your lights.
3. Through Manufacturer Ecosystems — Some systems, like myenergi’s Zappi paired with their Hub, integrate natively with smart home platforms. Similarly, Tesla Wall Connector status can be monitored through unofficial integrations and Home Assistant.
Compatible Smart Lighting Systems for UK Homes
Not all smart lights work equally well for status indicators. You need lights that change colour reliably and respond quickly to automation triggers. Here are the best options available in the UK:
Philips Hue
Philips Hue remains the gold standard for UK smart lighting. A starter kit with the Hue Bridge and three colour bulbs costs approximately £130–£160. Hue integrates with Home Assistant, Apple HomeKit, Alexa, and Google Home. Colour changes happen within milliseconds, making them ideal for real-time status indicators.
LIFX
LIFX bulbs connect directly to Wi-Fi without requiring a separate hub. A single LIFX colour bulb costs around £20–£25. They work with Home Assistant and IFTTT, offering another solid option for EV charger smart lighting setups.
IKEA TRÅDFRI / DIRIGERA
The IKEA DIRIGERA hub (around £60) paired with TRÅDFRI colour bulbs (£10–£12 each) offers excellent value. While not as feature-rich as Hue, they handle basic colour automation reliably. For budget-conscious setups, this combination works very well.
WLED LED Strips
For a more custom approach, WLED-compatible LED strips mounted near your charger or along a hallway can create striking visual effects. A five-metre WS2812B strip with a WLED controller costs £25–£35. These offer per-LED control and highly customisable animations.
Step-by-Step: Setting Up Your EV Charger Smart Lighting
Follow this practical guide to connect your EV charger status to your smart lights. The exact steps depend on your charger and lighting brand, but the overall workflow remains similar.
Step 1: Choose Your Smart Home Platform
Home Assistant is the most flexible option for UK users. It runs locally on a Raspberry Pi 4 (around £50–£70) or a dedicated mini PC. Alternatively, you can use Apple HomeKit, Google Home, or Amazon Alexa if you prefer a simpler setup with fewer customisation options.
Step 2: Connect Your Smart Lights
Set up your chosen smart lights in your home. For Philips Hue, install the Hue Bridge and pair your bulbs through the Hue app. For LIFX or IKEA, use their respective apps. Once connected, ensure you can control the lights from your phone. This confirms they are online and responsive.
Step 3: Link Your EV Charger
Add your EV charger to your smart home platform. If you own a Zappi, add the myenergi integration. For Ohme chargers, use the Ohme Home Assistant integration. If your charger does not offer direct integration, set up a smart plug (such as a TP-Link Tapo, around £12) on the charger’s supply line to detect current flow.
Step 4: Create Your Automations
This is where the magic happens. You create rules that trigger light changes based on charger status. Here is a typical automation example:
When Zappi status equals “charging” → Set hallway light to blue
When Zappi status equals “complete” → Set hallway light to green
When Zappi status equals “fault” → Set hallway light to red
When Zappi status equals “waiting” → Set hallway light to amber
In Home Assistant, you create these through the Automation Editor or by writing YAML directly. The interface guides you through selecting triggers, conditions, and actions. Most users can build a basic setup within 30 minutes.
Step 5: Test and Refine
Plug in your EV and start a charging session. Watch your smart light for the correct colour change. Furthermore, unplug the vehicle or stop charging to confirm the light reverts. Test each status — charging, complete, fault, and waiting — to ensure reliability.
UK Wiring Safety and Regulations
Safety must come first. EV chargers operate at high currents and connect to your home’s mains supply. The UK has strict regulations governing electrical work.
Part P of the Building Regulations requires that any new circuit or modification to an existing circuit in a domestic property must comply with electrical safety standards. Installing a home EV charger in the UK legally requires a qualified electrician. As of 2026, the Electric Vehicles (Chargepoints) Regulations continue to mandate that installations meet BS 7671 standards.
However, adding smart lighting automations is a software-level configuration, not an electrical modification. Changing the colour of your smart lights through an app or automation platform does not affect your wiring. The key safety rule is simple: never modify the physical wiring of your EV charger yourself. Leave that to a certified installer.
In addition, the Energy Saving Trust recommends regular checks on your home EV charging equipment. Look for damaged cables, loose connections, or signs of overheating. If anything looks unusual, contact your installer immediately.
Suggested Colour Schemes for EV Charging Status
A consistent colour language makes your system intuitive. Here is a widely recommended scheme used by UK smart home enthusiasts:
- Blue (steady) — Actively charging
- Green (steady) — Charging complete, ready to drive
- Amber / Yellow (slow pulse) — Waiting to charge (e.g., scheduled off-peak start)
- Red (rapid flash) — Charging fault or error detected
- Purple (slow pulse) — Charging on off-peak / cheap tariff electricity
- Off — No vehicle connected or charger idle
Consequently, anyone in your household can glance at the light and immediately understand the charging situation. You can, of course, customise these colours to suit your preferences.
Advanced Automations to Try
Once your basic EV charger smart lighting setup works reliably, you can expand it with clever automations:
Off-Peak Tariff Visual Reminder
Create an automation that turns a porch or hallway light green at 11:45pm. This serves as a visual reminder to plug in before your cheap electricity window starts (for example, Octopus Go’s 12:30am–4:30am window). Meanwhile, a red light at 5am warns you the off-peak period is ending.
Charging Progress Notification
Using Home Assistant’s templating features, you can make a light strip gradually shift from red to green as your EV’s state of charge increases. For instance, 0–25% displays red, 25–50% shows orange, 50–75% shows yellow, and 75–100% shows green. This creates a satisfying progress bar effect.
Solar Surplus Indicator
If you have solar panels and a Zappi charger, you can link solar export data to your lights. A bright yellow light could indicate your EV is charging from free solar energy. Meanwhile, a dimmer blue indicates grid electricity. If you’re considering solar alongside EV charging, our guide to balcony solar panels explains how even small setups can contribute to EV charging during daylight hours.
Morning Departure Alert
Set a morning automation: if your EV is fully charged and you typically leave at 7:30am, flash the kitchen lights green at 7:15am. This subtle reminder means you will never forget to disconnect your car before heading out.
Cost Breakdown for a UK Setup
Here is a realistic budget for building an EV charger smart lighting system in a UK home in 2026:
- Smart lights (2× Hue colour bulbs + Bridge starter kit) — £130–£150
- Home Assistant (Raspberry Pi 4 + SD card + case) — £70–£90
- Smart plug for charger monitoring (if needed) — £12–£20
- LED strip for garage (optional, WLED-compatible) — £25–£35
- Total estimated cost — £100–£295 depending on your choices
Meanwhile, if you already own smart lights or a Home Assistant installation, the incremental cost drops to nearly nothing. You simply add new automations.
Troubleshooting Common Issues
Even well-planned setups can encounter hiccups. Here are the most frequent problems and their solutions:
Lights do not change colour when charging starts. Check that your automation trigger matches the exact charger status string. For example, some chargers report “charging” while others report “Charging” or “charge_session_active.” Match the case precisely.
Delays of more than ten seconds. Cloud-based integrations can introduce latency. Moving to a locally hosted solution like Home Assistant reduces response time to under two seconds.
Lights show the wrong colour. Verify your automation conditions. A common mistake is setting both a trigger and a conflicting condition. Furthermore, ensure no other automation is overriding the colour at the same time.
Smart plug not detecting charger current. Some EV chargers, particularly those with adjustable current ratings, may draw very low standby power. Adjust the smart plug’s power threshold to a lower value, such as 50W, to reliably detect active charging.
The Future of EV Charger Smart Lighting
The UK EV market continues to grow rapidly. SMMT figures show that electric vehicle registrations surpassed 40% of all new car sales in 2025, and that trend is accelerating. As more households adopt EVs, smart home integration will become increasingly mainstream.
Furthermore, Matter and Thread protocols are standardising smart home communication. This means future EV chargers and smart lights from different brands will work together more seamlessly. For UK homeowners, this translates to easier setup and broader compatibility.
On the other hand, vehicle-to-grid (V2G) technology — which allows your EV to feed electricity back into the grid — is becoming more widely available. When V2G becomes standard, smart lights could indicate not just charging, but also when your car is actively earning money by exporting power. Keep an eye on our UK EV charger buying guide for updates on the latest models that support these features.
Final Thoughts
EV charger smart lighting is a practical, affordable, and genuinely useful home automation project. It transforms invisible charging data into something you can see and understand instantly. Whether you choose Philips Hue, IKEA TRÅDFRI, or custom LED strips, the principles remain the same: connect your lights, link your charger, and build simple automations.
Most importantly, always have your EV charger installed by a certified electrician. The software side — building automations and configuring colours — is safe to experiment with yourself. Start small, test thoroughly, and expand as your confidence grows.
Have you already set up EV charger smart lighting in your home? Or are you planning your first automation? Share your experiences or questions in the comments below — we would love to hear what colour schemes and setups work for you.