
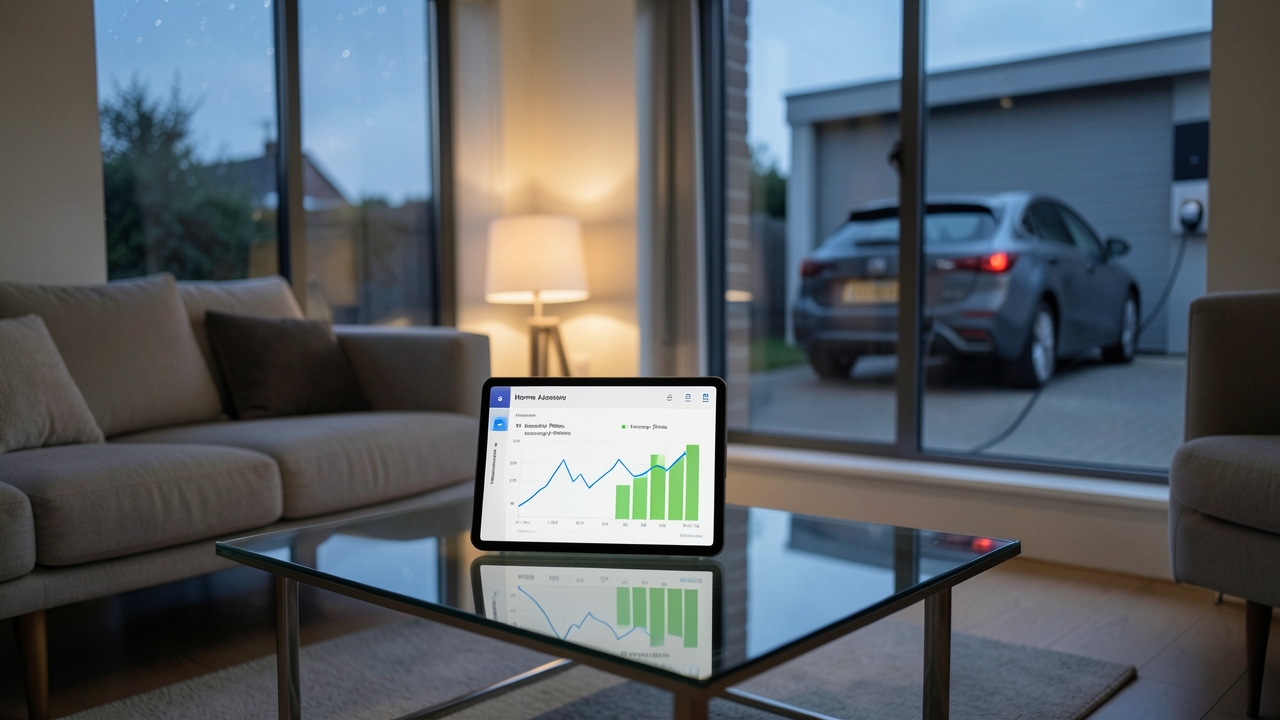
In 2026, managing your home’s energy consumption is no longer a passive task. With the rise of smart electricity tariffs and the prevalence of home energy hubs, automation is key. This guide provides a comprehensive, step-by-step walkthrough on configuring Home Assistant EV tariff UK integration. You’ll learn how to automate your electric vehicle charging to minimise costs, support the grid, and run your household with greater efficiency.
Smart tariffs from providers like Octopus Energy and OVO Energy have become standard, offering rates that fluctuate hourly based on wholesale electricity prices. Manually plugging in your car at the cheapest moment is inconvenient. Home Assistant, the open-source home automation platform, solves this by acting as the brain of your smart home, making decisions for you in the background.
Why Automate EV Charging with Home Assistant?
Automating your EV charge with a platform like Home Assistant offers significant benefits beyond mere convenience. It delivers tangible financial and environmental advantages.
Significant Cost Savings
The primary driver for most users is cost. Smart tariffs can offer electricity for as little as 2p per kWh during overnight off-peak periods, compared to a peak rate of over 35p per kWh. By ensuring your car only charges during these cheap windows, you can slash your annual fuel bill by hundreds of pounds. For a typical 30kWh overnight charge, the difference between peak and off-peak is over £10 per single charge.
Grid Support and Carbon Reduction
Furthermore, automated charging helps balance the national grid. By consuming electricity when supply from renewables like wind and solar is high (and demand is low), you directly support a greener energy system. Home Assistant can be configured to prioritise carbon intensity, not just price.
You might be interested in how this fits into a broader sustainable home. Our article on installing balcony solar panels explores how generating your own power can further reduce your reliance on the grid and your tariff costs.
Prerequisites: What You Need to Get Started
Before diving into the setup, ensure you have the following components in place:
- A Compatible EV and Charger: You need an electric vehicle and a smart, WiFi-connected EV charger (e.g., Zappi, Ohme, Wallbox). A tethered charger is essential for remote control.
- A Home Assistant Server: This can be a dedicated hardware device like a Home Assistant Yellow or Blue, or a Raspberry Pi. It must be connected to your home network.
- A Smart Tariff: An active smart electricity tariff from a UK provider. Examples include Agile Octopus, OVO Smart, or EDF Smart.
- Technical Confidence: While this guide is step-by-step, basic comfort with installing software and navigating web interfaces is helpful.
Step-by-Step: Configuring Home Assistant for Your Smart EV Tariff
Let’s break the integration process into manageable steps. We will assume you have a working Home Assistant installation.
Step 1: Install Your Energy Provider’s Integration
The first step is to connect Home Assistant to your energy tariff data. The Home Assistant Community has developed reliable integrations for most major UK providers.
For example, to use Octopus Agile (a time-of-use tariff), you would add the “Octopus Energy” integration via HACS (Home Assistant Community Store). You’ll need your account number and an API key, which you can obtain from your energy provider’s online portal. Once configured, Home Assistant will create sensor entities with your real-time and forecasted electricity prices, updated every 30 minutes.
Step 2: Set Up Your EV Charger Integration
Next, connect Home Assistant to your smart charger. Many popular chargers have official or community-made integrations. For instance, the “Ecoflow” or “Wallbox” integrations allow Home Assistant to see the charger’s status and control its charging current or schedule.
Once connected, you should see a device in Home Assistant with entities like sensor.ev_charger_status and a switch or number entity to start/stop charging or set the maximum current.
Step 3: Create an Automation for Cost-Optimised Charging
This is where the magic happens. Navigate to the Automations section in Home Assistant and create a new automation in the YAML editor for maximum control.
A basic automation to start charging when the price drops below a certain threshold might look like this:
alias: "Start Cheap EV Charging"
trigger:
  - platform: numeric_state
    entity_id: sensor.octopus_agile_electricity
    below: 15
condition:
  - condition: state
    entity_id: sensor.ev_battery_soc
    below: 80
action:
  - service: switch.turn_on
    target:
      entity_id: switch.ev_charger
mode: single
This automation turns on the charger when the electricity price (in pence) falls below 15p, but only if the car’s battery state of charge (SOC) is below 80%. You must integrate your car’s battery status via your vehicle’s API (if available) or a charger that reports it.
Step 4: Implement a Stop Charge Automation
Equally important is an automation to stop charging when the price rises again or the car is full. You can create a complementary automation that triggers when the price exceeds 35p or when the battery SOC reaches 90%.
Advanced Automation: Combining Solar, Batteries, and Tariffs
For the ultimate in home energy management, you can combine your Home Assistant EV tariff UK data with solar panel and home battery sensors. An advanced automation could prioritise charging your car from excess solar power first (making use of the Smart Export Guarantee), then use cheap grid electricity overnight to top up the remaining needed charge.
As outlined by Energy Saving Trust, maximising self-consumption of generated solar energy provides the fastest payback on solar installations. Home Assistant is perfectly positioned to coordinate this complex interplay of generation, storage, and consumption.
If you are considering adding solar to your setup, our guide on home solar panel systems details the options available for UK homes in 2026.
Troubleshooting Common Issues
Even with careful setup, you may encounter issues. Here are some common ones and solutions:
- Integration Fails to Load: Double-check your API keys and account details. Ensure your Home Assistant instance has internet access to fetch tariff data.
- Charger Doesn’t Respond: Verify that the charger is on the same network and that any manufacturer-specific cloud accounts are correctly linked.
- Prices Seem Wrong: Some tariffs require a specific entity name. Consult the integration’s documentation on the Home Assistant Community Forums.
Furthermore, remember that energy regulations evolve. Always check the latest guidance from Ofgem, the UK energy regulator, regarding smart meter requirements and tariff rights. You can find up-to-date information on the GOV.UK website.
Conclusion: The Future of Home Energy is Automated
Setting up Home Assistant EV tariff UK integration empowers you to take full control of your home’s largest energy consumer. By automating your EV charging based on real-time grid conditions and prices, you achieve effortless cost savings, contribute to a more stable energy network, and reduce your carbon footprint. The initial time investment in configuration pays dividends in convenience and financial savings for years to come.
Have you already configured Home Assistant to manage your EV charging? Share your top tips or experience with UK smart tariffs in the comments below!