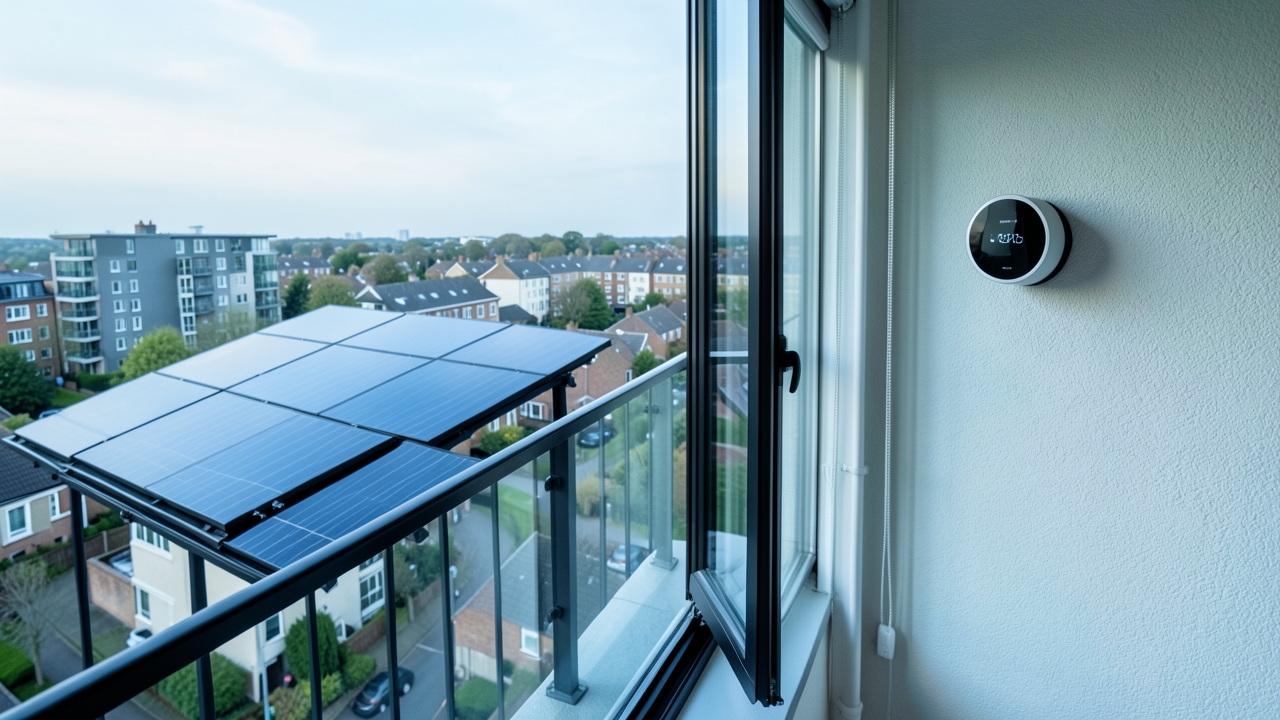
In 2026, UK homeowners are increasingly seeking smart ways to maximise self-generated energy. A powerful solar integration guide for your home doesn’t just involve panels; it involves intelligent automation. Connecting a Nest Learning Thermostat to a small-scale balcony solar setup is a brilliant move. It allows your heating system to react in real-time to the energy you produce. This guide provides the UK-specific steps to achieve that seamless connection.
While balcony solar panels typically generate between 200W and 600W, they can still meaningfully offset electricity for devices like a modern combi boiler or heat pump. The key is synchronising generation data with your heating controls. Let’s explore how to build this automated ecosystem.
Understanding Your UK Solar & Nest Ecosystem
Before diving into the technical steps, it’s crucial to understand the components of this solar integration guide. Your balcony solar kit likely includes microinverters or a small inverter with a data monitoring app. Meanwhile, your Nest Thermostat communicates via Wi-Fi with Google’s servers and can be controlled through the Google Home app.
The bridge between these two systems is typically a third-party smart home platform. For UK users, platforms like Home Assistant or IFTTT (If This Then That) are the most common solutions. They act as the central nervous system, allowing devices from different manufacturers to talk to each other.
UK Regulations and Your Balcony System
First, ensure your balcony solar installation complies with UK Government guidelines for plug-in solar. Most systems under 3.68kW (AC output) are considered G98 and can be installed without prior permission from your Distribution Network Operator (DNO). However, you must use certified equipment.
Furthermore, export your excess generation to the grid automatically via a smart export guarantee (SEG) tariff, or use it directly to offset your consumption. Our integration guide focuses on the latter — direct self-consumption for heating.
Step-by-Step Solar Integration Guide for Nest
Follow these steps to connect your system. This method assumes your solar kit has an accessible API or monitoring platform with data export capabilities.
Step 1: Ensure Network Compatibility
Your Nest Thermostat and solar inverter/monitor must be on the same Wi-Fi network. A strong, stable connection is vital. Consider using a mesh Wi-Fi system if you have connectivity issues. Both devices must also be able to communicate with the third-party platform you choose.
Step 2: Choose Your Integration Platform
Option A: Home Assistant (Advanced, UK Favourite). This open-source hub runs on a small computer like a Raspberry Pi. It offers the deepest integration and is highly customisable. You will likely find a pre-built integration for both your solar monitoring brand and the Nest API.
Option B: IFTTT (Simple, Subscription-Based). IFTTT uses “applets” to connect services. Search for applets that link your solar brand (e.g., Enphase, AP Systems) to Google Assistant. You can then create an applet that triggers a Nest setting when solar generation hits a certain wattage.
Step 3: Create Your Automation Logic
This is the core of the solar integration guide. You need to define “if-then” rules. For example:
- IF solar generation is above 300W for 15 minutes,
- AND the Nest Thermostat is in “Eco” mode,
- THEN set the Nest Thermostat to “Heat” mode with a target temperature of 21°C.
Conversely, you can create a rule to lower the temperature or return to Eco mode when solar generation drops below a threshold, ensuring you’re not drawing expensive grid electricity for heating during low-light periods.
Step 4: Test and Refine Your Automations
Start with conservative settings. Monitor your automations for a week. Use the Nest History and your solar app’s data logs to see how the system performed. You may need to adjust the wattage thresholds or time delays. For instance, on a cloudy day, generation might fluctuate, so a time delay prevents rapid cycling of your heating.
Practical UK Considerations & Costs
Implementing this system involves some cost and practicality factors specific to the UK market.
The Hardware Investment
A quality balcony solar kit (400W panel + inverter) costs between £300-£600. If you already own the Nest Thermostat (approx. £219), the main additional cost is the Home Assistant setup. A Raspberry Pi kit costs around £100. An IFTTT Pro subscription is £3.24 per month.
Energy Saving Trust Data
According to the Energy Saving Trust, smart controls like Nest can reduce heating energy use by around 8-12%. When paired with even a small solar input, these savings compound. On a good sunny day in the UK, a 400W system could generate 1.5-2 kWh, which is enough to power a water pump or fan for several hours.
Heating System Compatibility
This guide works best with electric heating systems or combi boilers. For boilers, the Nest will control the call for heat. It’s important that your system is efficient. Consider pairing this with a modern high-efficiency boiler for maximum benefit. The principle also applies to air source heat pumps, where pre-heating using solar can significantly improve efficiency.
Beyond the Basics: Advanced Automation Ideas
Once your basic integration is running, you can expand the logic. For example, you could connect to smart plugs to divert solar energy to a dehumidifier in damp UK weather. Another idea is to use weather forecast data to predict generation and pre-heat your home slightly in the morning if a sunny afternoon is expected.
“The real power of home automation isn’t just remote control; it’s creating a system that intelligently adapts to your environment and energy availability without manual intervention.”
Furthermore, ensure your setup respects data privacy. Platforms like Home Assistant keep data local on your network, which is a significant advantage for privacy-conscious users.
Your Solar-Powered Smart Home Awaits
This solar integration guide demonstrates that creating an intelligent, energy-responsive home in the UK is achievable today. By connecting a Nest Thermostat with balcony solar panels, you take a proactive step towards lower bills and reduced carbon footprint. The process requires some technical setup, but the long-term automation and savings are well worth the effort.
Have you experimented with linking your smart thermostat to renewable energy sources? We’d love to hear about your setups and any tips you’ve discovered in the comments below!